We're Karli & David
We’re Karli and David, a husband and wife wedding photography team based in Boise, Idaho. We create timeless images that you’ll cherish for years to come, while making your wedding experience feel effortless.
FEATURED POSTS
Summer Tamarack Resort Wedding
We're Karli & David
We’re Karli and David, a husband and wife wedding photography team based in Boise, Idaho. We create timeless images that you’ll cherish for years to come, while making your wedding experience feel effortless.
FEATURED POSTS
Boise Foothills Engagement
Let’s be honest, whether you’re a photographer or not, you probably take photos of your everyday life! More often than not, when David and I are running around town, we don’t have our cameras on us. A large portion of our life photos are taken on our iPhones! When we are taking photos with our phones, we use the same principles that we are thinking about when we’re taking professional photos. Keep reading below to learn our 5 steps to taking better iPhone photos!

#1 If You’re Shooting Outside, Find Even Light or Open Shade
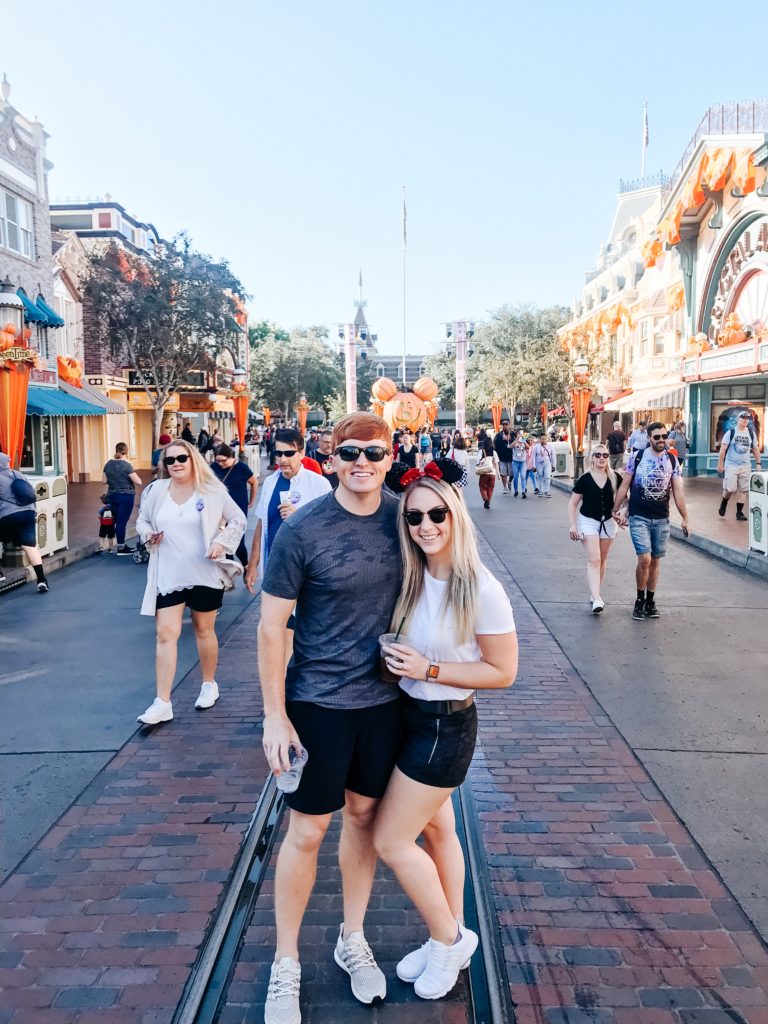
In the photo above, you can see that I’m standing in a piece of shade that the building behind me is creating! This allows me to be evenly lit and avoid unflattering shadows and harsh lines. This is the biggest key to taking great photos! Even light is pretty much what it sounds like: light that is even head to toe on your subject and if possible, even in the background! This means no splotchy light, no harsh shadows, and no super hot, bright spots. My favorite way to find even light in the middle of the day is by looking for open shade. Open shade is shade that is created by a building, landmark, or nature. The key to this kind of shade is that when you look up, there is nothing between you and the sky. Buildings or nature areas with an overhang can sometimes create a nasty color cast on your subject. For example, if there’s shade created by a deck with a red roof covering, you’re most likely going to get red hues on whatever you’re shooting. If you look up and there’s anything over your head, try to move in an area that still has open shade but nothing over your head!
#2 If You Can’t Find Open Shade, Use Backlight

In the photo above, clearly, we weren’t going to be finding any open shade near the pyramid, but we weren’t going to skip a once in a lifetime shot just because of bad light! If you look closely at the photo, you can see that the sun is directly behind us. If you can’t find open shade, use backlight. Backlight is when the light source is behind your subject. This allows your subject to still be evenly lit, and it keeps their eyes away from the sun…no squinting allowed here! You’d be surprised just how much rotating a subject can change an image. It reduces all the harsh shadows the sun can create and is therefore, so much more flattering!
#3 The Secrets to Shooting with Backlight
There are a couple factors that can make backlighting tricky, but I’m here to share the secrets! Sometimes when you’re using backlight, you can get what is called lens flare. Lens flare is when light is hitting your lens (yes even on an iPhone!) and causes an unwanted hazy filter. To avoid this, you can simply cup your hand and use it to shade your phone lens! Bam, fixed!
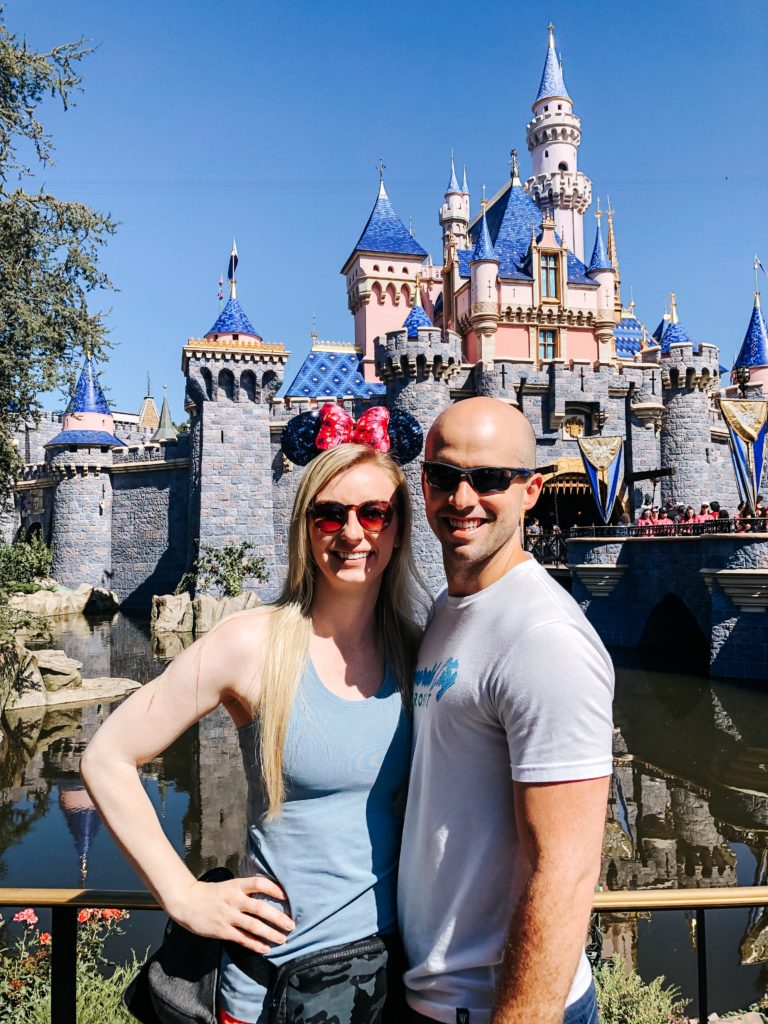
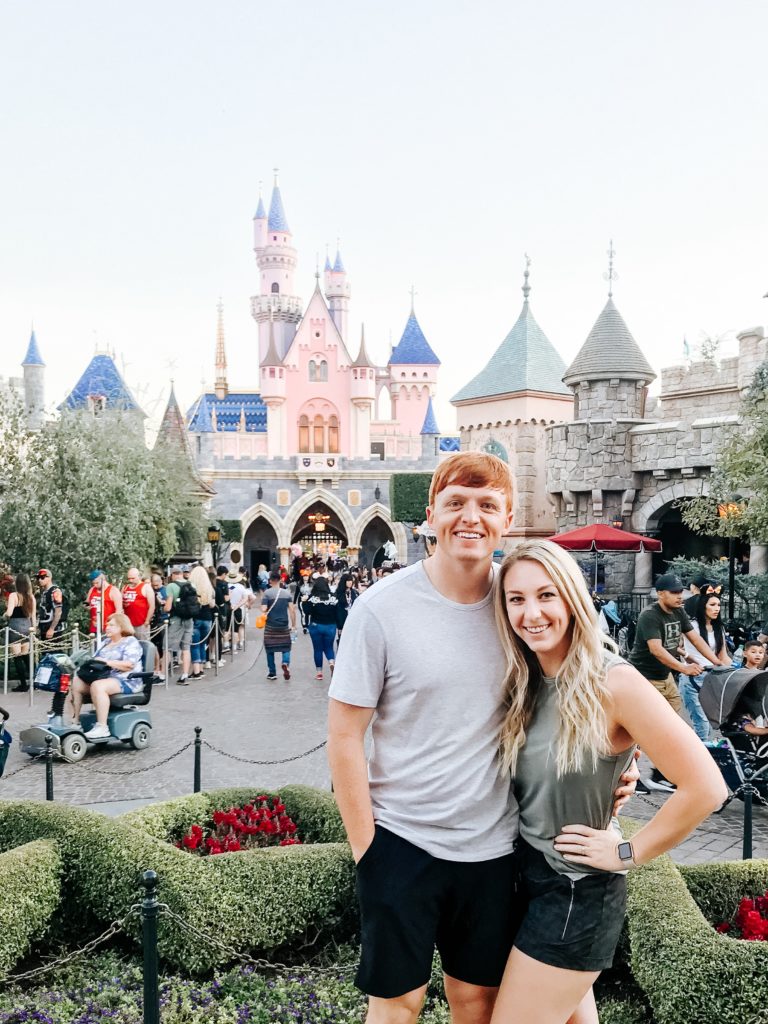
The second problem that can occur with backlight is location. For example, let’s say you’re at Disneyland (I wish I was there right now!) and you’re trying to take a photo with the castle in the background. If you turn your subject so that they’re backlit, you may lose the castle in the background. In this scenario, we say throw on the sunglasses and rock it! Your sunglasses will hide the shadows under your eyes (known to us as raccoon eyes) and you’ll get your photo with the castle! Or, you can always come back at golden hour to get your photo with the castle like we did!

#4 If You’re Shooting Indoors, Get Your Subject Close to a Window
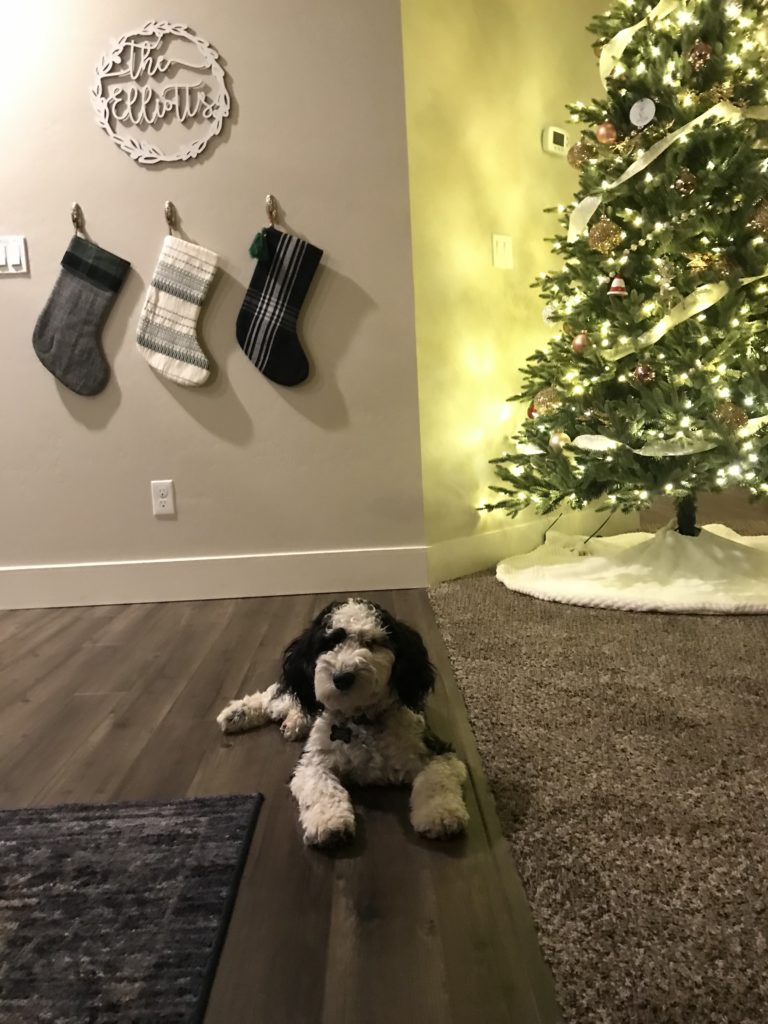
Moms and dog lovers, this one is for you. A lot of times, you’re photographing your children, or in my case, your dog, inside the house! We are obsessed with natural light and finding it wherever we can, even inside. If you’re wondering why exactly we are so obsessed, do me a favor and take a selfie in your closet with your fluorescent light on, then go take a selfie standing by your window. Light is incredible! Getting your subject close to a window will allow natural light to hit them rather than icky, yellow fluorescent light! If you want to get super picky, it’s best when your subject is angled towards the window at 45 degrees.
#5 Use Lightroom Mobile to Enhance Your Photos
In my opinion, editing cannot ever “fix” a photo, but it can most definitely enhance it. If you take a photo and realize it’s a little darker than you want, or you’d like some extra color and pop, using an editing app is a great way to take your image to the next level. Lightroom is actually the professional software I use on my clients photos! They have created a free mobile app for photo editing, and it’s amazing!
It can be hard to know where to start with editing, but fear not, I am giving you access to my free preset that I use on all of my own everyday photos! I tend to like the more light and airy style, as is consistent with my professional photography work. But, if you’re looking for a different style, a variety of Lightroom mobile presets are also available for purchase on the internet.
Click here to get my everyday free Lightroom mobile preset!
Thanks for reading 5 Steps to Taking better iPhone photos! I hope these simple tricks improve your photos and memories of your everyday life!
Leave a Reply Cancel reply
COPYRIGHT 2022 KARLI & DAVID LLC
Menu
Timeless & JOYFUL
About
Karli & David Photography is a husband and wife wedding photography team based in Boise, Idaho and traveling worldwide.


[…] you enjoyed my 5 Style tips for grooms, you may also enjoy 5 Steps to Taking Better iPhone photos and 3 Things to Consider when Debating a First Look. Thanks for […]